Creating a Debian Boot Partition on a USB Flash Drive
Having a boot partition on a USB flash drive provides two major benefits. One is to have the USB flash drive work as a “security key” without which the computer cannot boot into an OS; effectively, the boot USB flash drive becomes a house key. Another is to provide the consolidated storage for an encryption key to encrypt the main SSD drive.
Bootstrapping a Debian system to boot in this particular way is done at an installation time. This document outlines that process. We will provide the detailed steps only for partitioning storage devices (i.e., the main SSD drive and the USB flash drive), but not for the entire Debian installation. This is to keep the document succinct, but also because they are the only part that is different from the standard Debian installation steps.
What You Need
- A Debian install medium (likely a USB flash drive)
- A computer on which Debian is being installed
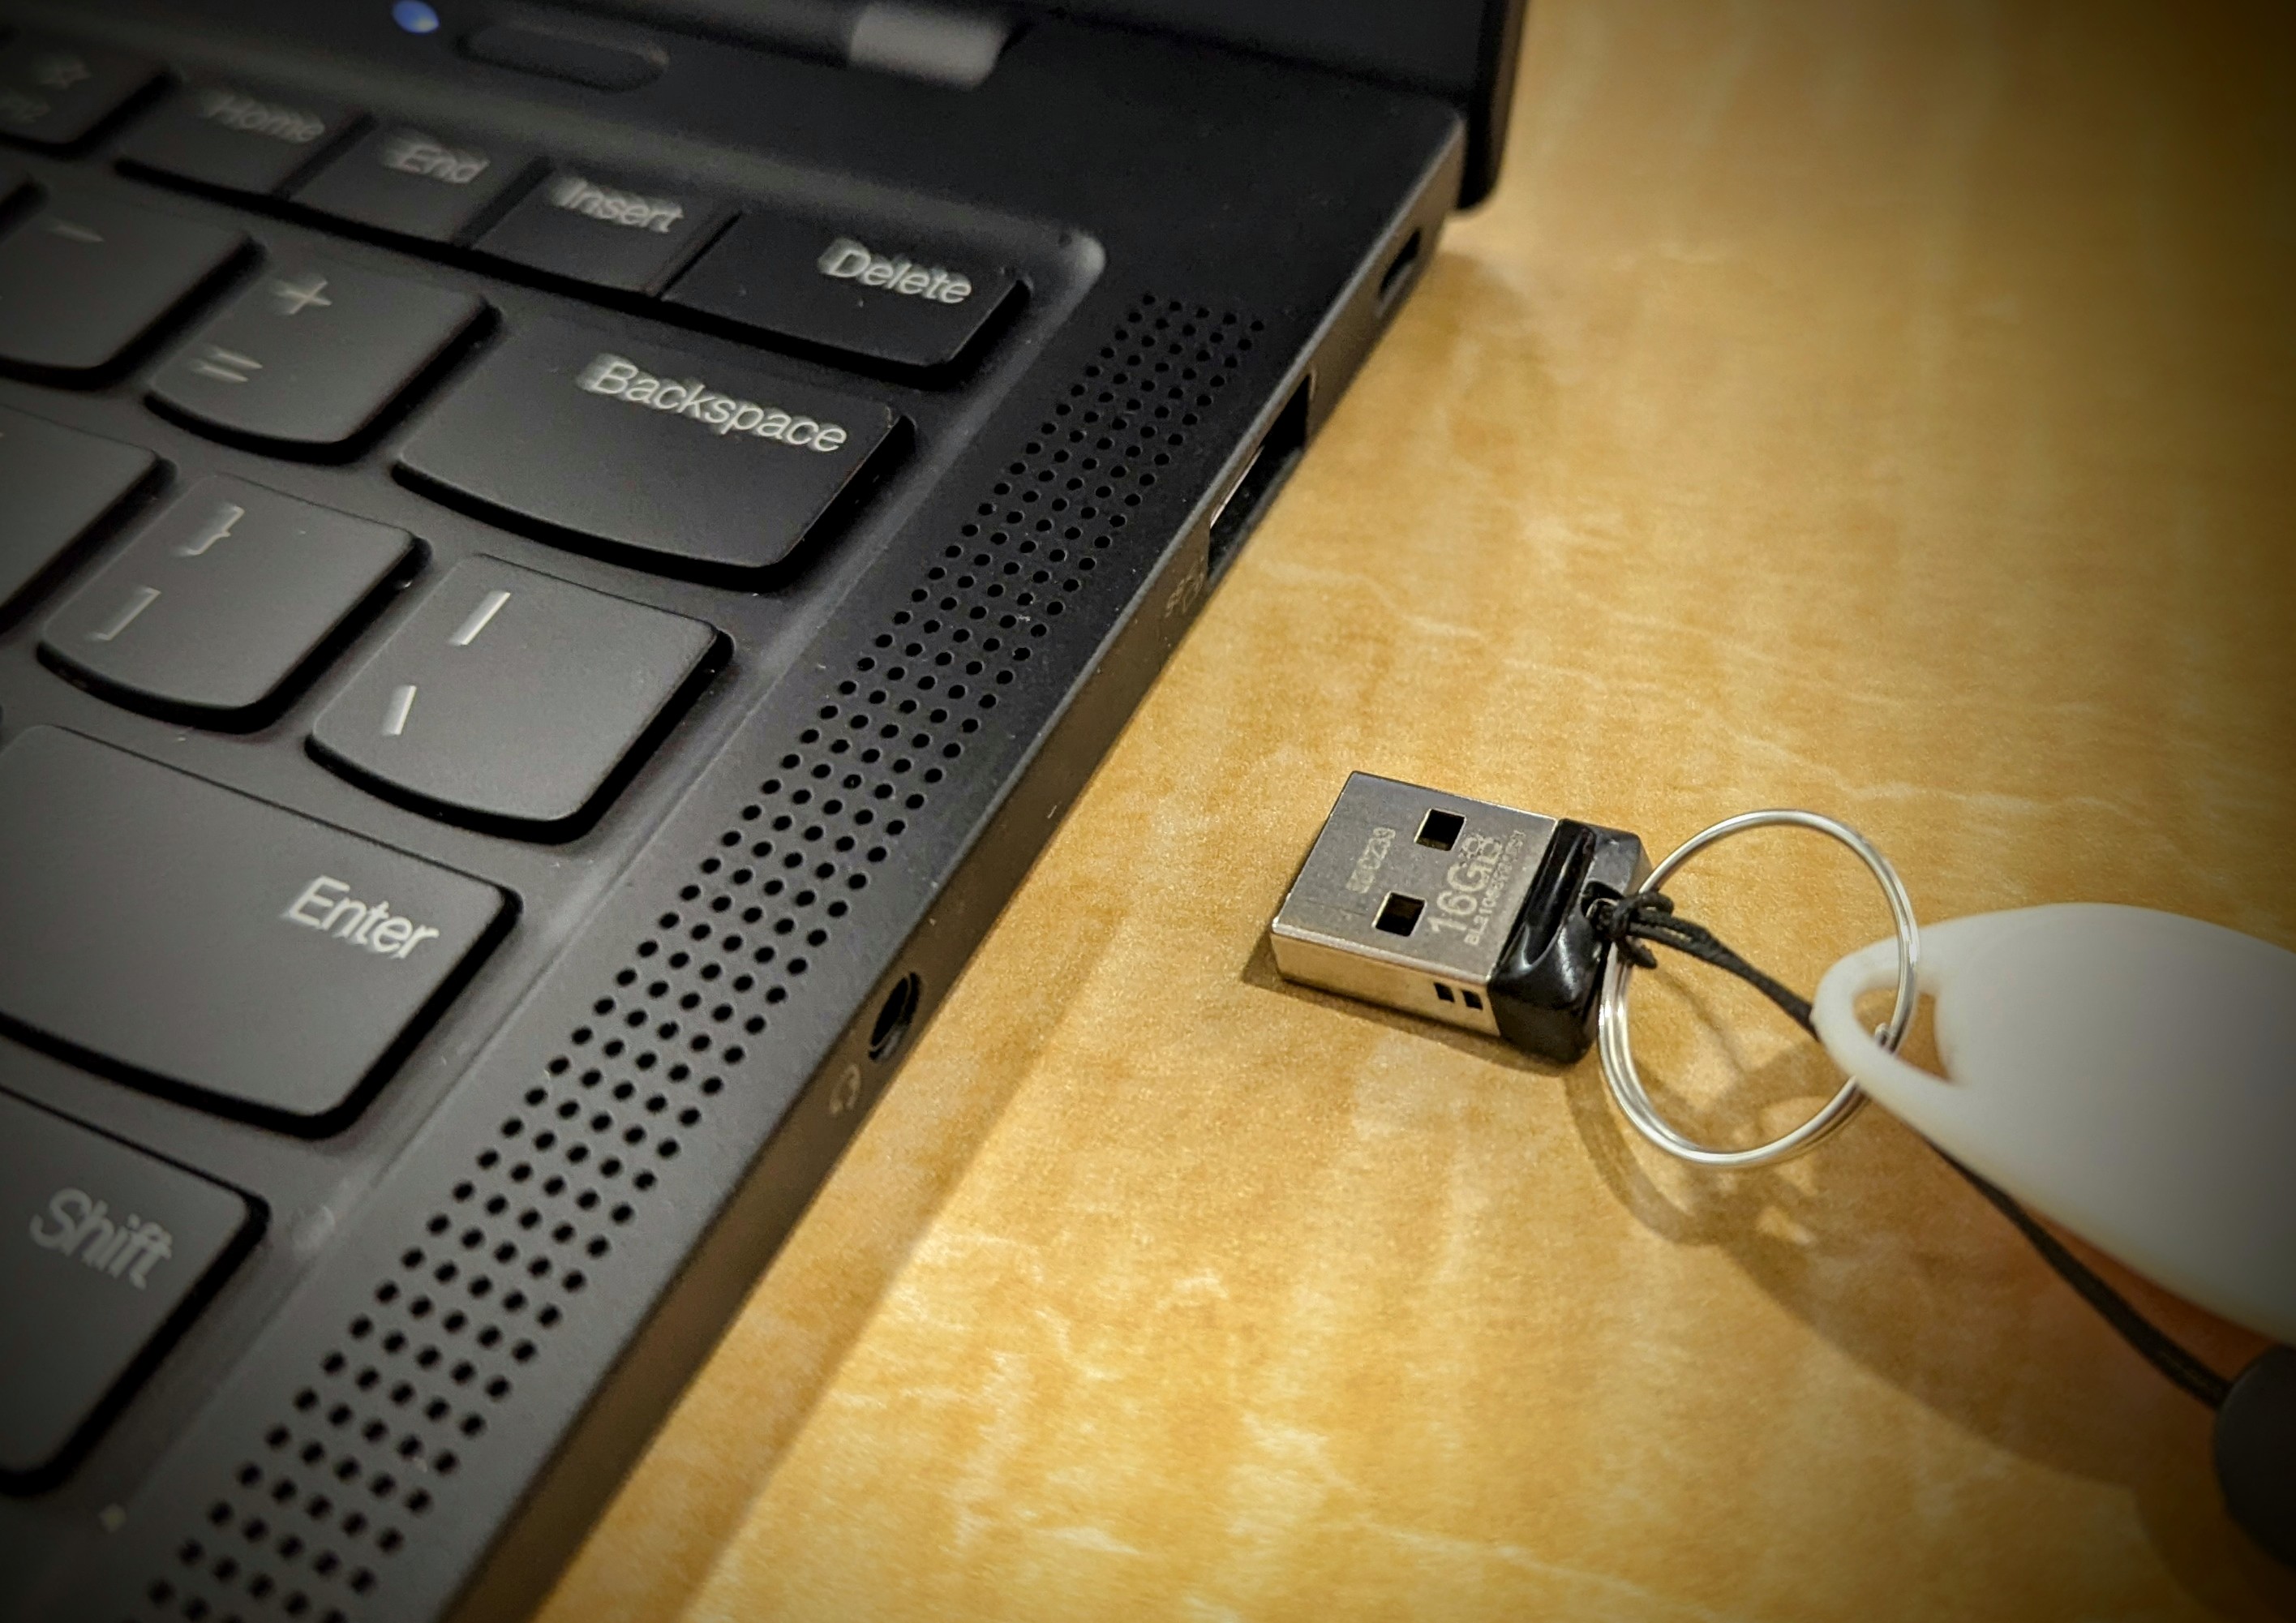
- One unused USB flash drive on which to put the
/bootpartition
The unused USB flash drive must be different from the one with the Debian install media.
Here is a note about the /boot partition size: I would recommend that the USB flash drive to have at least 500 MB of storage space. The ideal size depends on usage, but the very minimal size should be determined by how many kernel-related files you would want to keep in the boot partition at a time. The very minimum number of kernel versions to keep is two, one for the main use and another for fallback or backup. As of writing, each kernel would need about 80 MB (for config, initrd.img, and vmlinuz files), which might be larger or smaller depending on how much you customize the kernel. The idea is to have enough space to keep all the kernel versions that you need available on boot. In reality, it is increasingly rare to be found in retail USB flash drives with less than 8 GB of storage, and there is no harm in using that much space for your boot partition.
I now assume that you are in the process of Debian installation, and right before the step for partitioning the hard drive(s).
Creating a Boot Partition on a USB Flash Drive
Before getting to the “Detect disks” step of the Debian installer, make sure that the unused USB flash drive is already plugged into the computer.
When you get to the “Partition disks” step, choose “Manual” as “Partitioning method.”
Identify the device name for the unused USB flash drive, e.g., “SCSI (0,0,0) (sdb).”
Select that entire device to create a new empty partition table on it.
Create a new EFI System partition on its free space:
- Partition size: 128 MB
- Location for the new partition: Beginning
- Partition settings:
- Use as: EFI System Partition
- Bootable flag: on
Create a new boot partition on its remaining free space:
- Partition size: (use all the remaining free space)
- Partition settings:
- Use as: Ext2 file system
- Mount point: /boot
- Mount options: defaults
- Label: none
- Reserved blocks: 5%
- Typical usage: standard
- Bootable flag: off
The newly partitioned USB flash drive is now set up to be and hold the entire /boot partition.
Creating an Encrypted Partition on an SSD Drive
You will use the entirety of the SSD drive as an encrypted volume. Inside, the logical volumes for the / (root) partition and the SWAP partition will be created.
Throughout the current process, you may be asked a question “Write changes to disk and configure (something).” Be ready to answer “Yes” to this question. All the actions going forward are destructive, and all data on the SSD drive will be cleared.
Creating the Encrypted Volume
Select that entire SSD drive to create a new empty partition table on it.
Create a new partition on its free space with the following configuration:
- Partition size: (use all the remaining free space)
- Partition settings:
- Use as: physical volume for encryption
- Encryption method: Device-mapper (dm-crypt)
- Encryption: aes
- Key size: 256
- IV algorithm: xts-plain64
- Encryption key: Passphrase
- Erase data: yes
- Bootable flag: off
Choose “Configure encrypted volumes”:
- Encryption configuration actions: Finish
- Really erase the data on …: Yes
- Type encryption passphrase: (choose wisely)
Configuring the Logical Volume Manager
Choose “Configure the Logical Volume Manager.”
Creating a volume group
Under “LVM configuration action,” choose “Create volume group”:
- Volume group name: vg
- Devices for the new volume group: /dev/mapper/* (choose encrypted device)
Creating logical volumes
Under “LVM configuration action,” choose “Create logical volume” for the swap space:
- Volume group: vg
- Logical volume name: swap
- Logical volume size: (roughly the same as RAM)
Under “LVM configuration action,” choose “create logical volume” for the root partition:
- Volume group: vg
- Logical volume name: root
- Logical volume size: (the remaining free space)
Under “LVM configuration action,” choose “Finish.”
Creating the Root and SWAP Partitions in Logical Volumes
Select the logical volume named “root” and configure the partition:
- Partition settings:
- Use as: Ext4 journaling file system
- Mount point: /
- Mount options: defaults
- Label: none
- Reserved blocks: 5%
- Typical usage: standard
Select the logical volume named “swap” and configure the partition:
- Partition settings:
- Use as: swap area
Finally, choose “Finish partitioning and write changes to disk.”
- Write changes to disks: Yes
Follow and complete the rest of the Debian installation. Before the very first reboot, keep the boot USB flash drive plugged in, but remove the USB flash drive with the Debian install media.
Upon reboot, make sure that you can boot into the Debian login screen using the encryption passphrase that you set up earlier.
Move on to the next section once you confirm that you may log in on the newly bootstrapped machine as root. The shortcut Alt + Ctrl + F2 may be useful for console login as root.
Storing SSD Drive Encryption Key File in the Boot USB Flash Drive
In this section, we replace the encryption passphrase with a key file and store it in the boot USB stick. The key file will be encrypted with a (possibly different) passphrase using GnuPG.
Boot off the boot USB flash drive, and use Alt + Ctrl + F2 to log in as root via console. All the shell commands below are meant to be executed as root.
Generate a random key file:
dd if=/dev/urandom of=/keyfile bs=512 count=16
Look in /etc/crypttab for a line that looks like this:
nvme0n1p1_crypt UUID=<uuid> none luks,discard
where <uuid> depends on your hardware. Take note of the device name here (nvme0n1p1), as it may be different for your machine. It should refer to the encrypted volume of the SSD. Change that line to:
nvme0n1p1_crypt UUID=<uuid> /boot/keyfile.gpg luks,keyscript=/lib/cryptsetup/scripts/decrypt_gnupg
Add the key file to the LUKS keyring:
/sbin/cryptsetup luksAddKey /dev/nvme0n1p1 /keyfile
When asked, type in the existing passphrase created for the encrypted volume during the Debian installation process.
Encrypt the key file with gpg:
gpg -c --cipher-algo AES256 /keyfile
When asked, enter a (new) passphrase. Keep in mind that it is for encrypting the key file, not the volume this time. Thus, it can be the same as the one for the encrypted volume used earlier, as eventually, we will only keep the passphrase created in the current step.
Move the GPG file just created to the boot USB flash drive at /boot/keyfile.gpg:
mv /keyfile.gpg /boot/keyfile.gpg
Update the initramfs:
/sbin/update-initramfs -u
Reboot.
Once the reboot is successful, notice that you will get prompted for a passphrase of the encrypted key file, not the encrypted volume this time. Log in as root again, and remove the raw encryption key file created for temporary use:
cryptsetup luksKillSlot /dev/nvme0n1p1 0 --key-file /keyfile
shred -n 30 -uvz /keyfile
At this point, the boot USB flash drive becomes the “key” and will be the only way to boot this machine.
Once the computer boots, you may unmount the boot partition
Removing the Boot USB Flash Drive
After the successful boot, you may want to remove the boot USB flash drive. (You don’t want your key left inserted!)
Unmount the boot partition as follows:
sudo umount /boot/efi
sudo umount /boot
Then, physically remove the boot USB flash drive.
Waking up from Hibernation
When hibernation is active, you will need the boot USB flash drive to wake up the computer to boot back into the hibernated session.
With regular sleep (suspend-to-RAM), you will not need the boot USB flash drive.
Don’t forget to bring along your boot USB flash drive when traveling with a computer in hibernation.
Creating Spare USB Flash Drives
Like any other (physical) keys, you might want to keep a spare in case you lose it. It is easy to create one as follows.
First, obtain the device paths pointing to the master USB flash drive and the spare USB flash drive:
fdisk -l
Say, you have the master at /dev/sda and the spare at /dev/sdb. Then use dd to create an image dump of the master, and use it to create a spare:
dd if=/dev/sda of=/tmp/boot-key.img bs=16M  # generate an image of the master
dd if=/tmp/boot-key.img of=/dev/sdb bs=16M  # create the spare from the image
Of course, both USB flash drives need not be present at the same time. Just be very, very careful with the device paths when you insert/remove the USB devices, as it is easy to misremember the device reference and destroy important data.
Handling Kernel Updates
A maintenance release of Debian sometimes includes a kernel upgrade. Since Linux kernel-related files are stored in the /boot directory, such an update must be done while the boot USB flash drive is mounted on the computer.
Check if a pending Debian update includes a kernel update:
sudo apt update
sudo apt list --upgradable
If the list includes packages named like linux-image-*, that kernel will be installed upon the next APT upgrade, and the relevant kernel files will be created under /boot. For each kernel version, the following files would exist:
System.map-<x.x.x-x>-amd64config-<x.x.x-x>-amd64initrd.img-<x.x.x-x>-amd64vmlinuz-<x.x.x-x>-amd64
where <x.x.x-x> is the kernel version and its revision number.
Insert the boot USB flash drive, and mount the boot partition if not done so already:
sudo mount /boot
sudo mount /boot/efi
Then, perform APT upgrade:
sudo apt upgrade
Especially if you manage more than one boot USB flash drive, a nice thing to remember is how to reinstall a package. With a kernel image, the command would look like this:
sudo apt install --reinstall linux-image-<x.x.x-x>-amd64
The kernel reinstall would become necessary when you have more than one boot USB flash drive to keep in sync with each other. Essentially, you need to repeat the kernel upgrade process for each boot USB flash drive, and the apt install --reinstall command above is all that is necessary.
Finally, purging the kernel package will remove the kernel-related files from the /boot directory:
dpkg -l | grep linux-image-*  # list installed kernel versions
sudo dpkg -P linux-image-<x.x.x-x>-amd64  # perge specific kernel version
You may need to perform this cleanup occasionally if your boot partition is small.